
How to Install Contact Paper
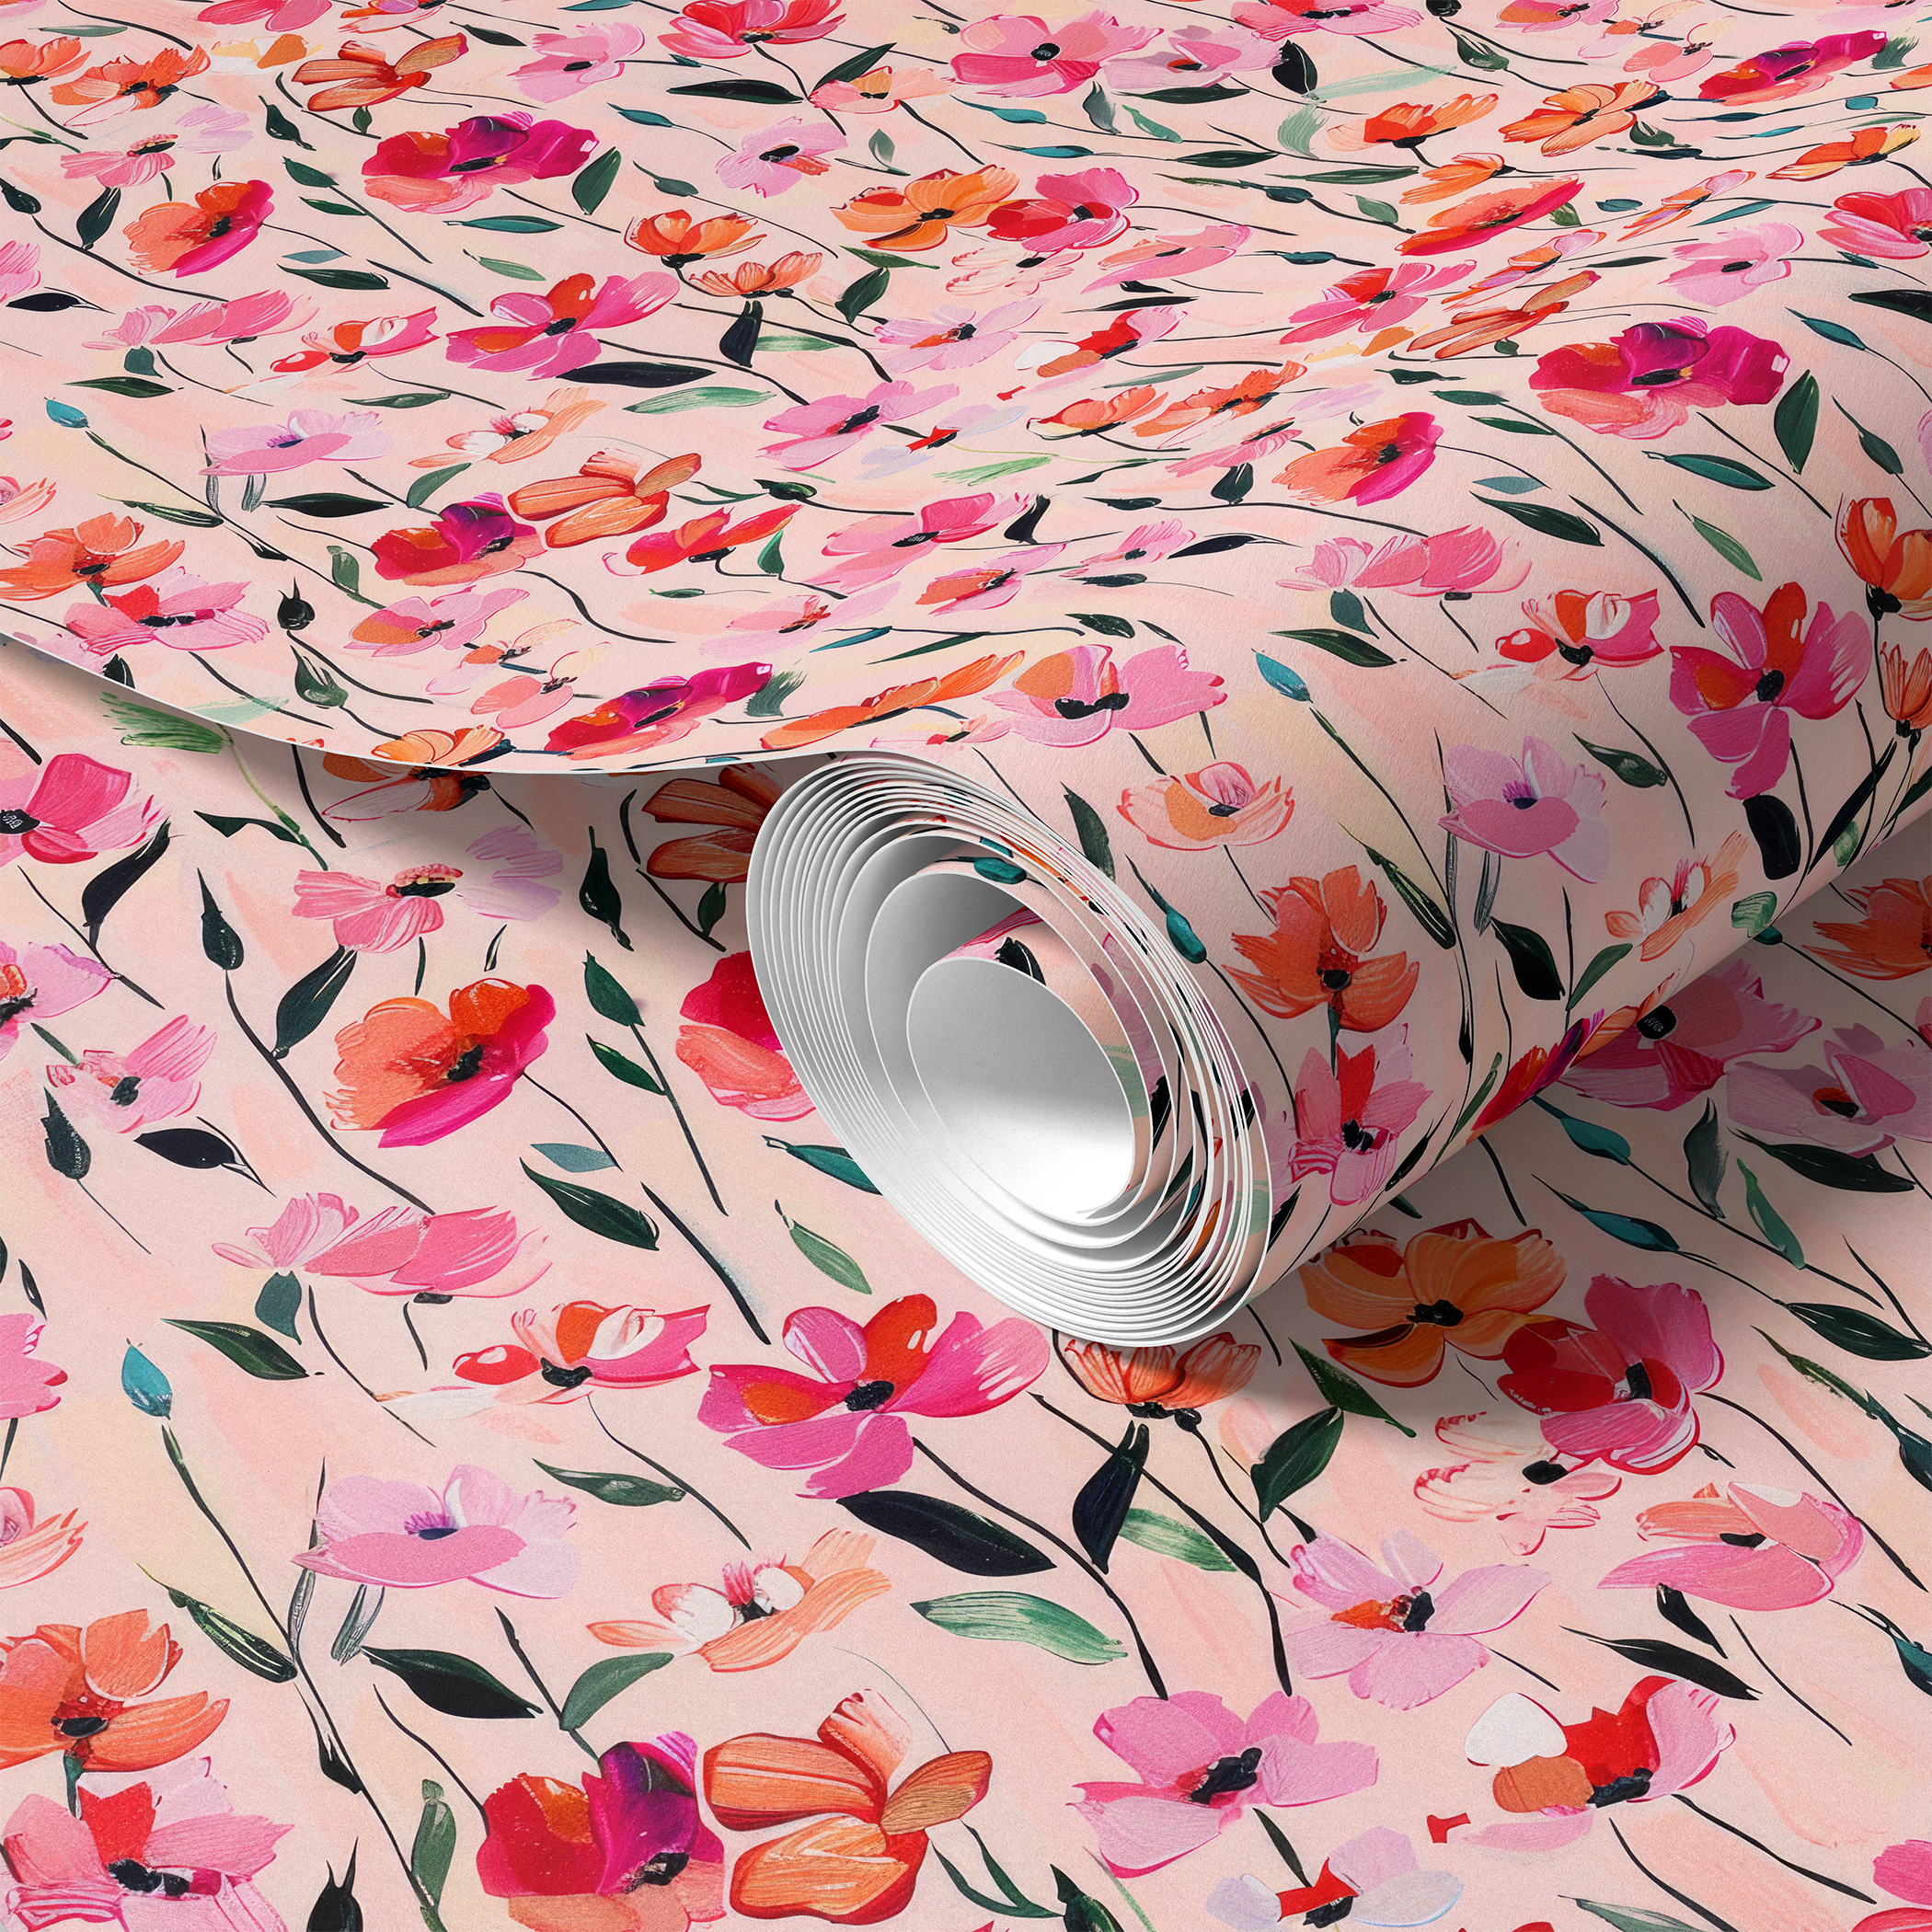
Peel-and-stick contact paper is a quick and affordable way to transform surfaces such as shelves, tables, desks, pantries, drawers, and even bathrooms. Follow these step-by-step instructions to ensure a smooth, bubble-free, and long-lasting application.
Materials Needed:

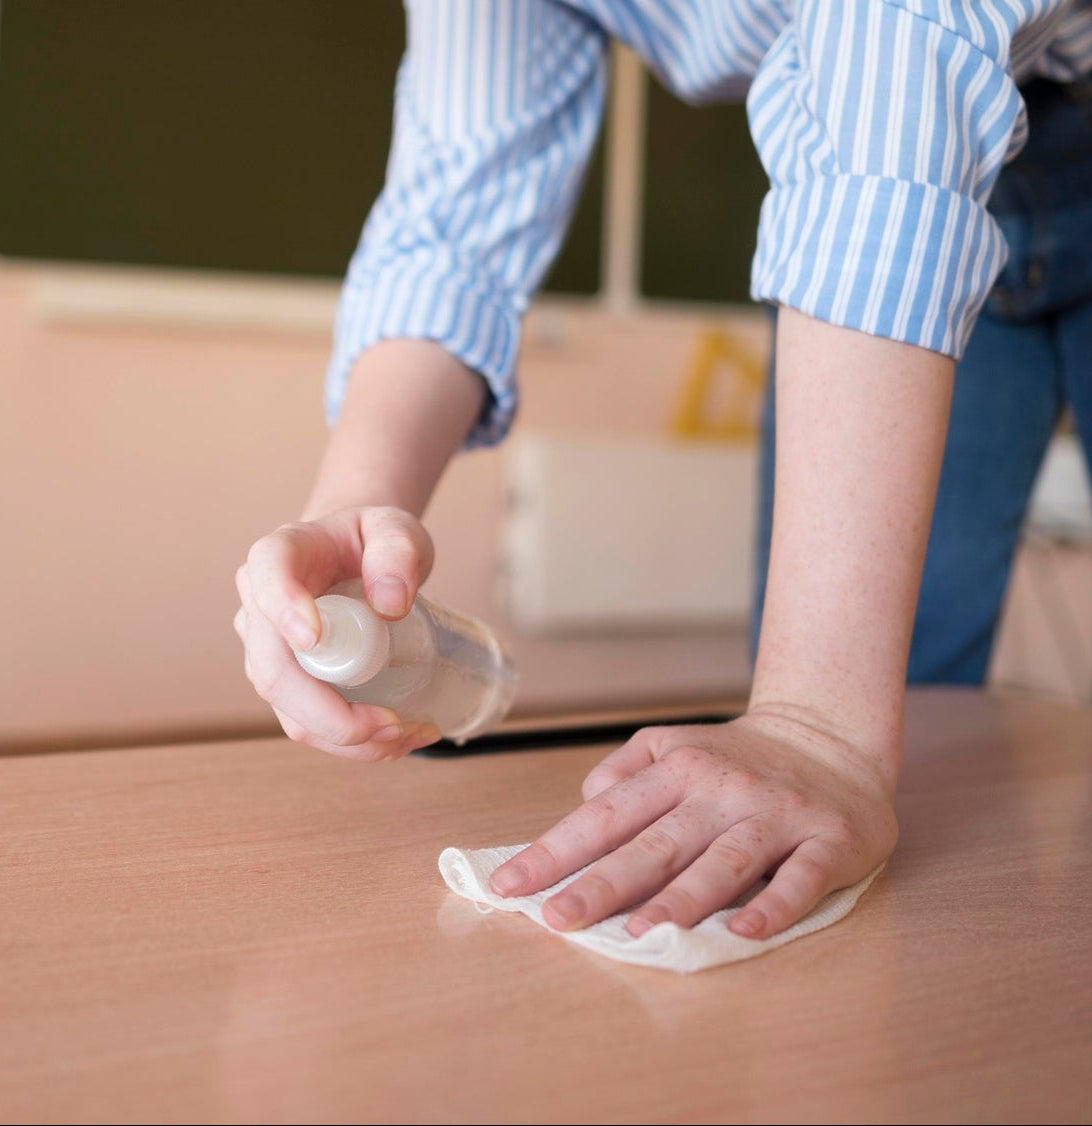
1 - Prepare the Surface
Clean the surface thoroughly. Use mild soap and water to remove dirt, dust, grease, or residue. Dry the surface completely. A damp surface can weaken adhesion. Use a lint-free cloth to ensure dryness. Smooth out any imperfections. If the surface has bumps, scratches, or holes, lightly sand or fill them for the best results. If applicable, remove any hardware. If applying to a cabinet or drawer, remove handles for easier installation.

2 - Measure and Cut
Measure the area you want to cover, using a measuring tape or ruler. Mark the dimensions on the back of the contact paper using a pencil. Add an extra ½ inch on all sides to allow for adjustments. Cut carefully along the markings using scissors or a utility knife.
Tip: If covering a large area, cut the contact paper into smaller, manageable sections to make installation easier.
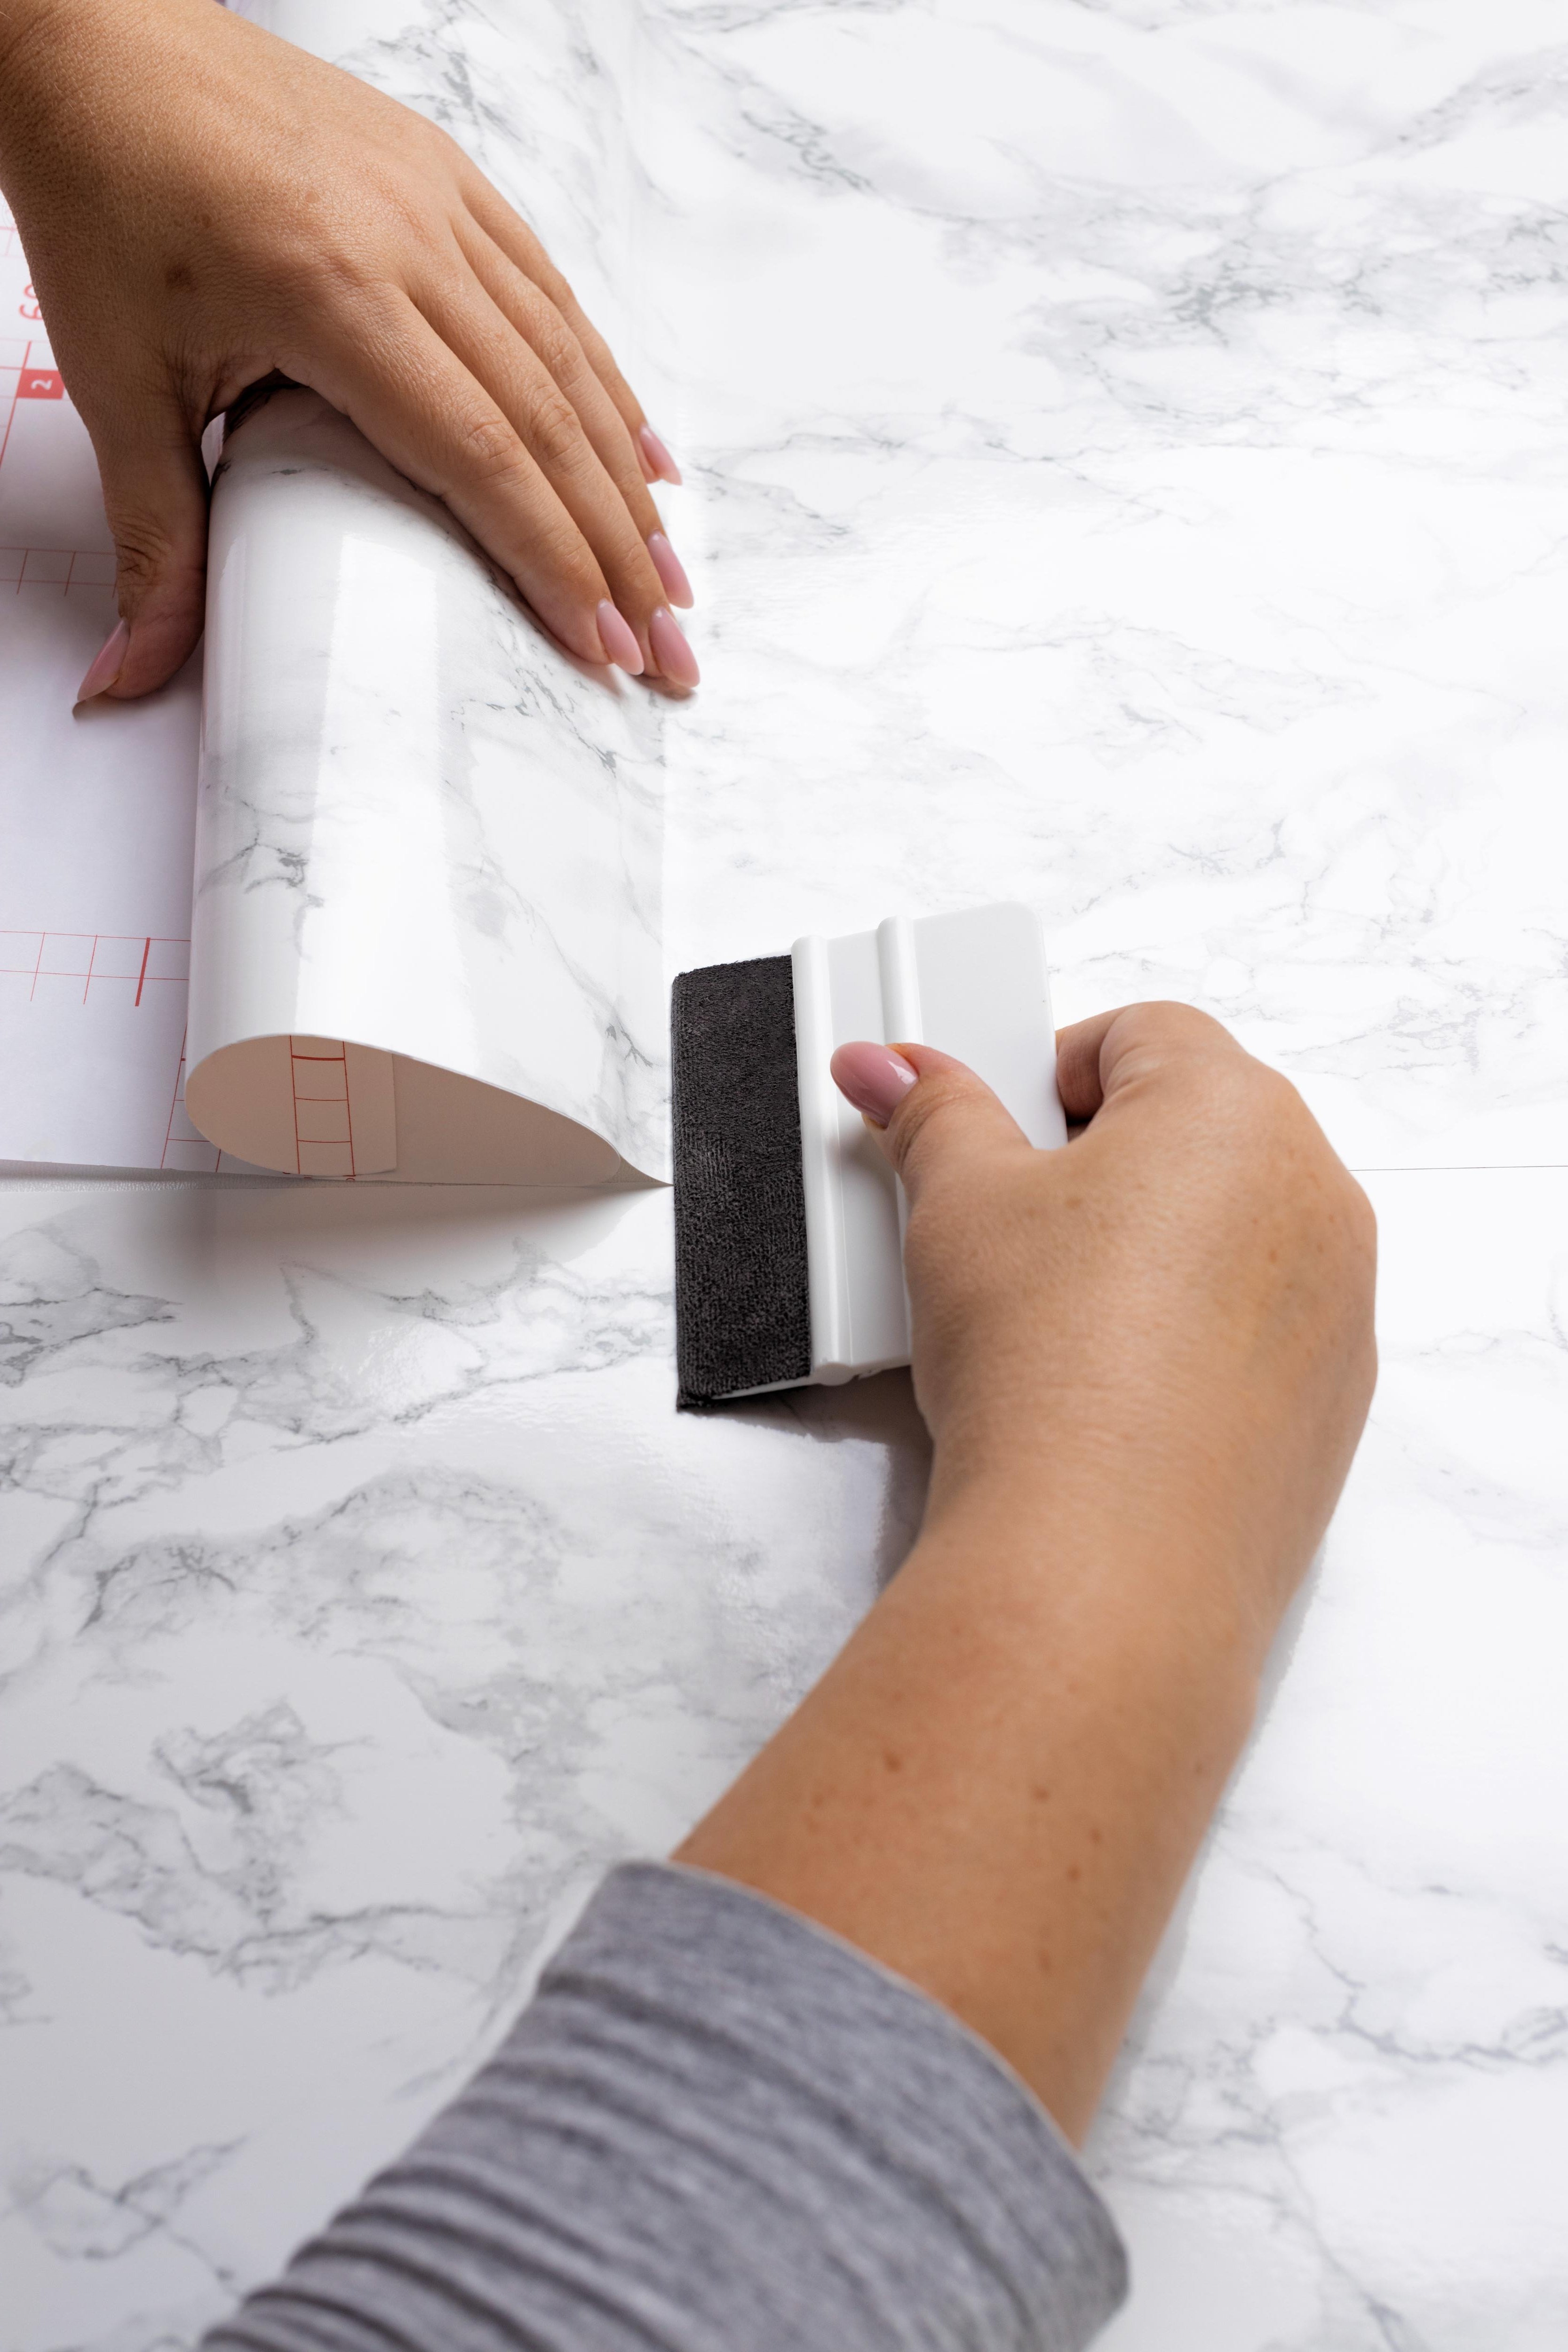
3 - Position and Apply
Peel back a few inches of the backing at the top edge, exposing the adhesive. Align the contact paper carefully with the surface edge before pressing it down. Smooth as you go – Use a squeegee or plastic card to press the contact paper down while slowly peeling the backing away. Work in small sections. This helps prevent bubbles and wrinkles.
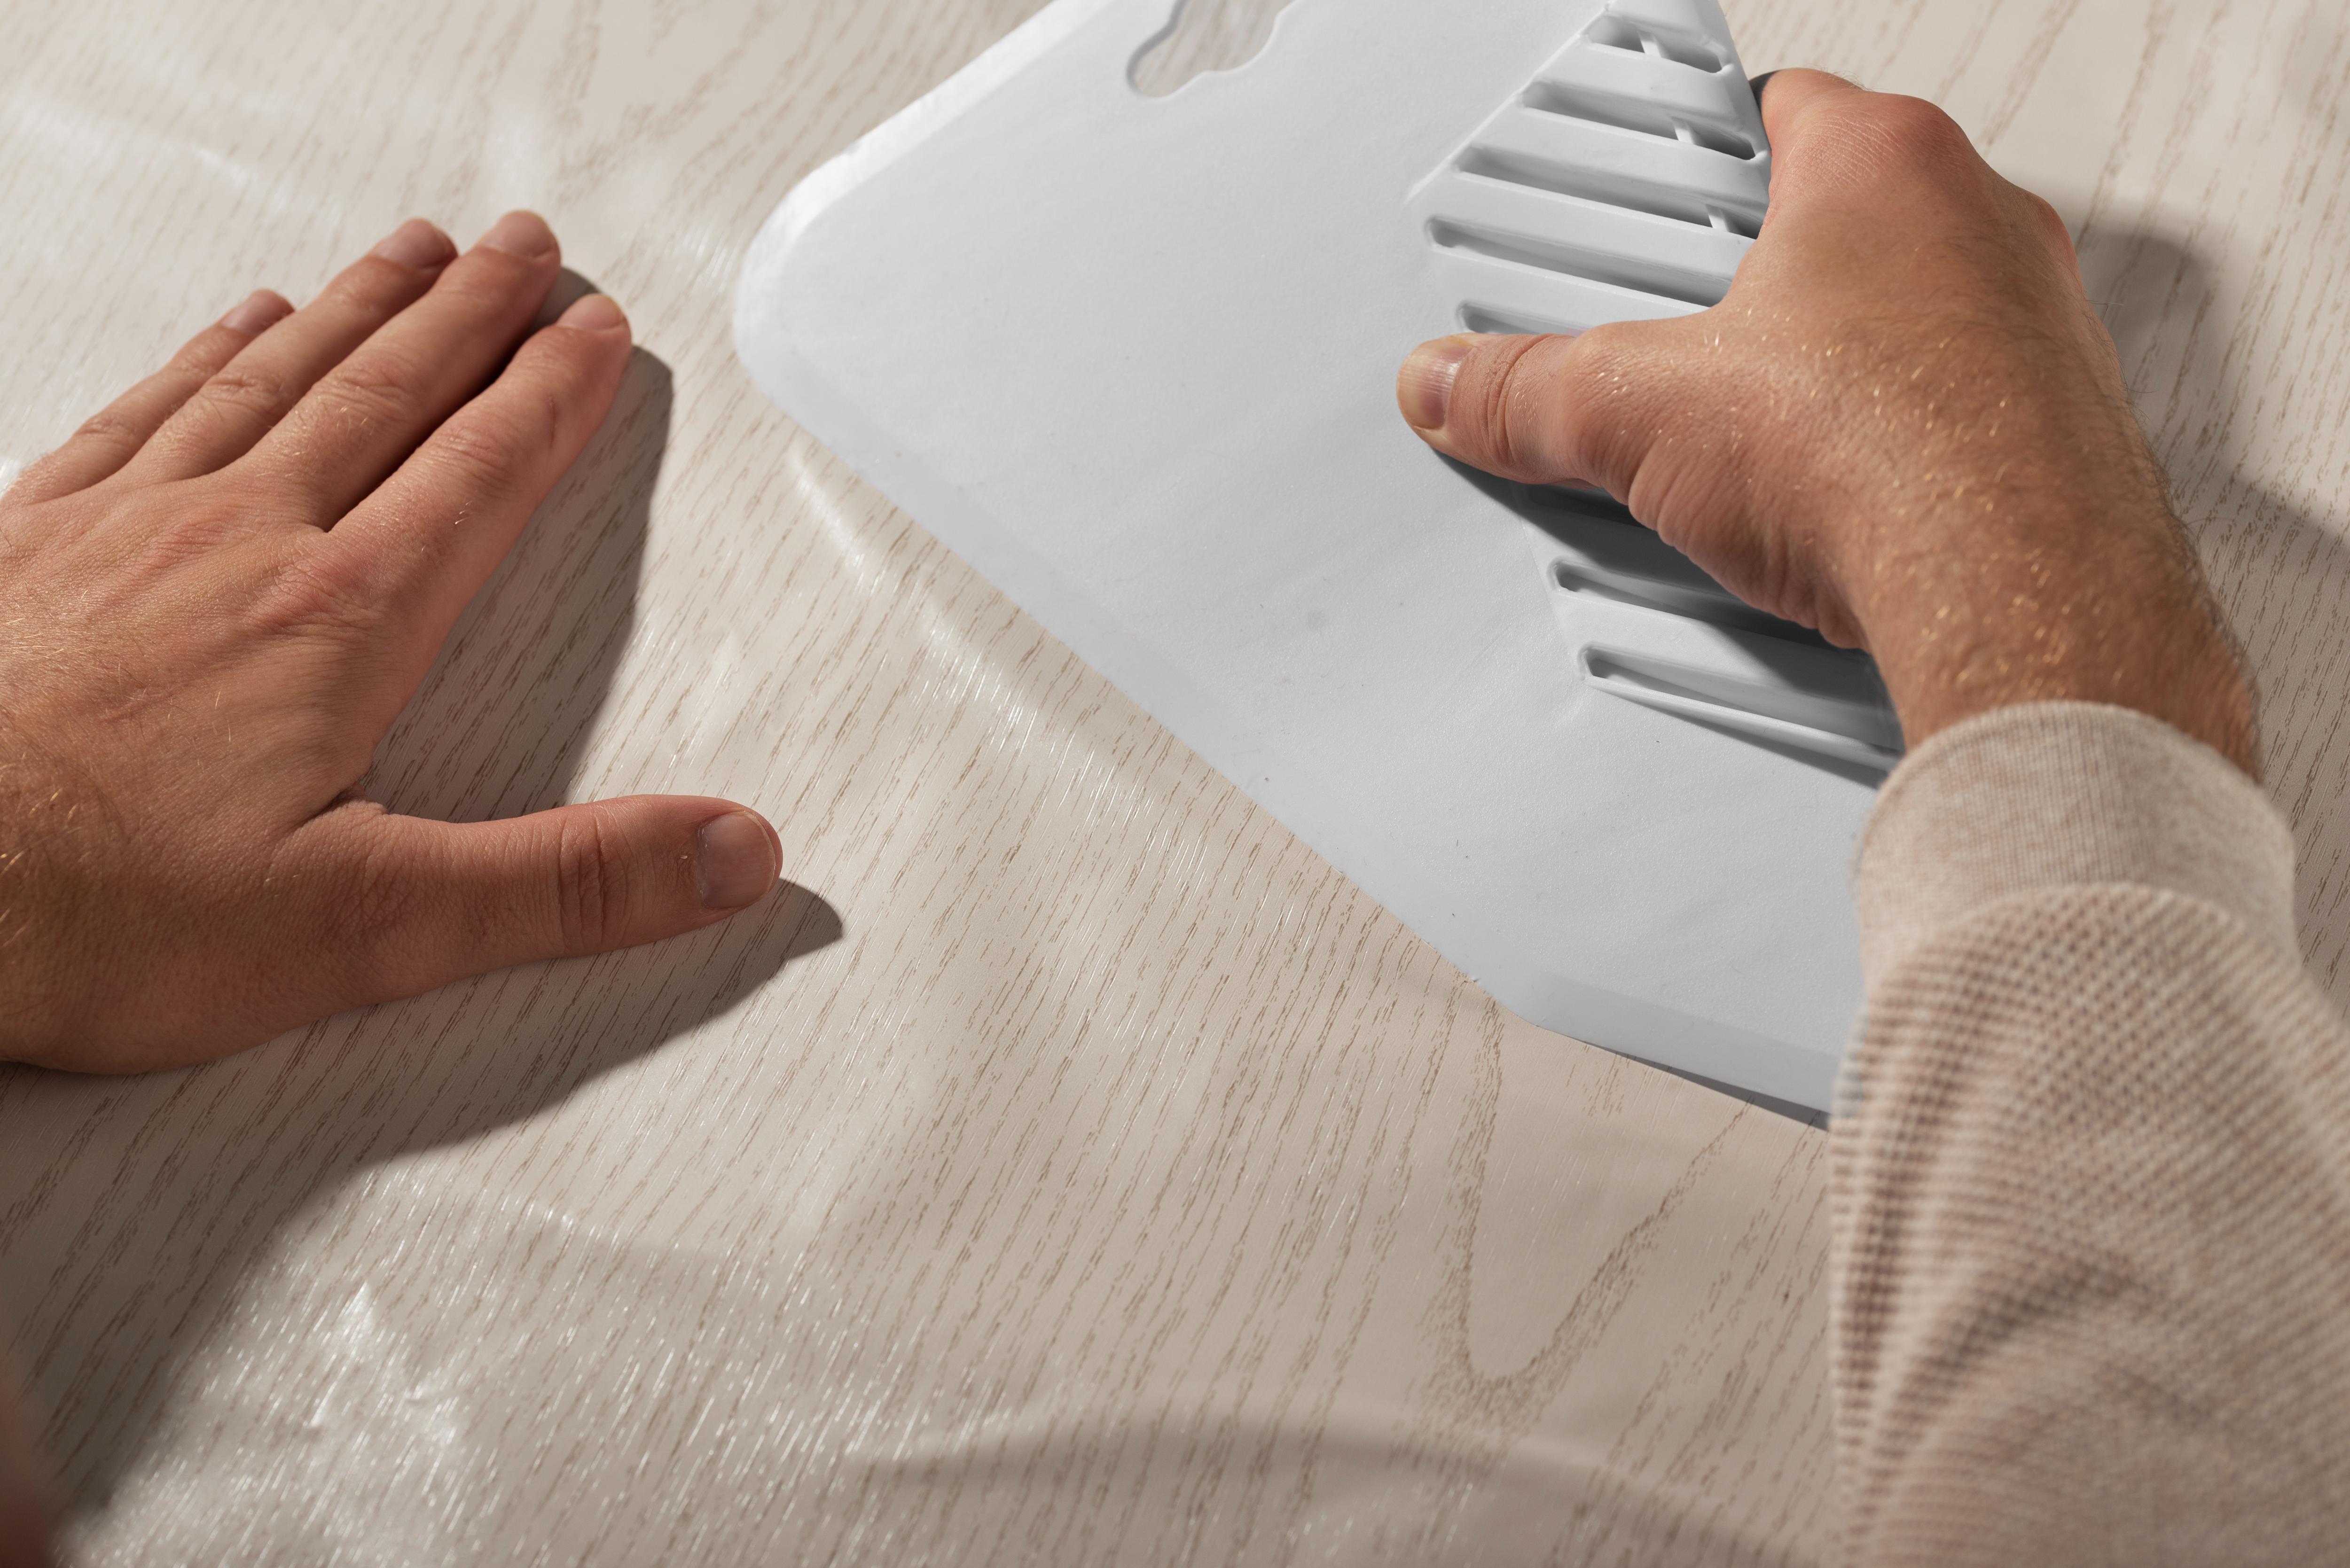
4 - Smooth Out
Press firmly with a squeegee or plastic card from the center outward to remove air bubbles. If a bubble remains, gently lift that section and reapply while smoothing it out. For stubborn bubbles, use a small pin or needle to poke a tiny hole and press the air out.
Tip: If applying to a curved or uneven surface, use a hairdryer on a low setting to gently warm the contact paper, making it more flexible.

5 - Finishing Touch
Use a sharp utility knife or scissors to trim any overhanging edges. Reattach any hardware if removed earlier. Press down all edges firmly to ensure a secure seal.
Tip: If applying to high-use areas like countertops or desktops, consider sealing the edges with a clear adhesive for extra durability.
6 - Additional Tips
- • For easy removal, heat the contact paper with a hairdryer before peeling it off.
- • For repositioning, slowly peel back and reapply—contact paper is forgiving in the early stages!
- • For large surfaces, consider applying with a partner to help keep alignment straight.
- • For drawer or shelf liners, cut slightly smaller than the surface to avoid peeling at the edges.
• Work slowly and take your time to ensure proper alignment.
• If you make a mistake, peel the panel back gently and reposition it. Peel and stick wallpaper is removable and repositionable.
• For textured walls, high-tack adhesive wallpaper is strongly recommended for better adhesion.
• For heavily textured walls, applying a skim coat followed by a coat of primer is highly recommended. Alternatively, a power sander can be used to smooth out any bumps.
Working with a friend is always better than working alone!

Tag us on social media
Share Your Finished Project
@jamesandcolors