
How to Install Countertop Film
Please review the following information for installation tips, maintenance guidance, and best practices to help ensure your film looks great for years to come.
Materials Needed:
BEFORE YOU BEGIN
Our countertop film is peel and stick adhesive paper. It is NOT designed to be installed with heat guns! Using heat may warp or damage the material.
BEFORE YOU BEGIN
Our countertop film is peel and stick adhesive paper. It is NOT designed to be installed with heat guns! Using heat may warp or damage the material.
Working with a friend is always better than working alone! For larger countertop surfaces, having an assistant will make the installation process significantly easier.
Working with a friend is always better than working alone! For larger countertop surfaces, having an assistant will make the installation process significantly easier.
Once applied, avoid cutting directly onto the countertop film. Doing so will damage the surface. Use a cutting board to protect the film.

1 - Preparing
The countertop should be smooth, clean, and completely dry before application. Use a gentle cleaner to remove any grease, dust, or debris. Avoid oil-based cleaners, as they can interfere with adhesion. Check the temperature of the surface. Ensure the countertop is at least 60°F (16°C) before application. Installing in cooler temperatures can affect adhesion.
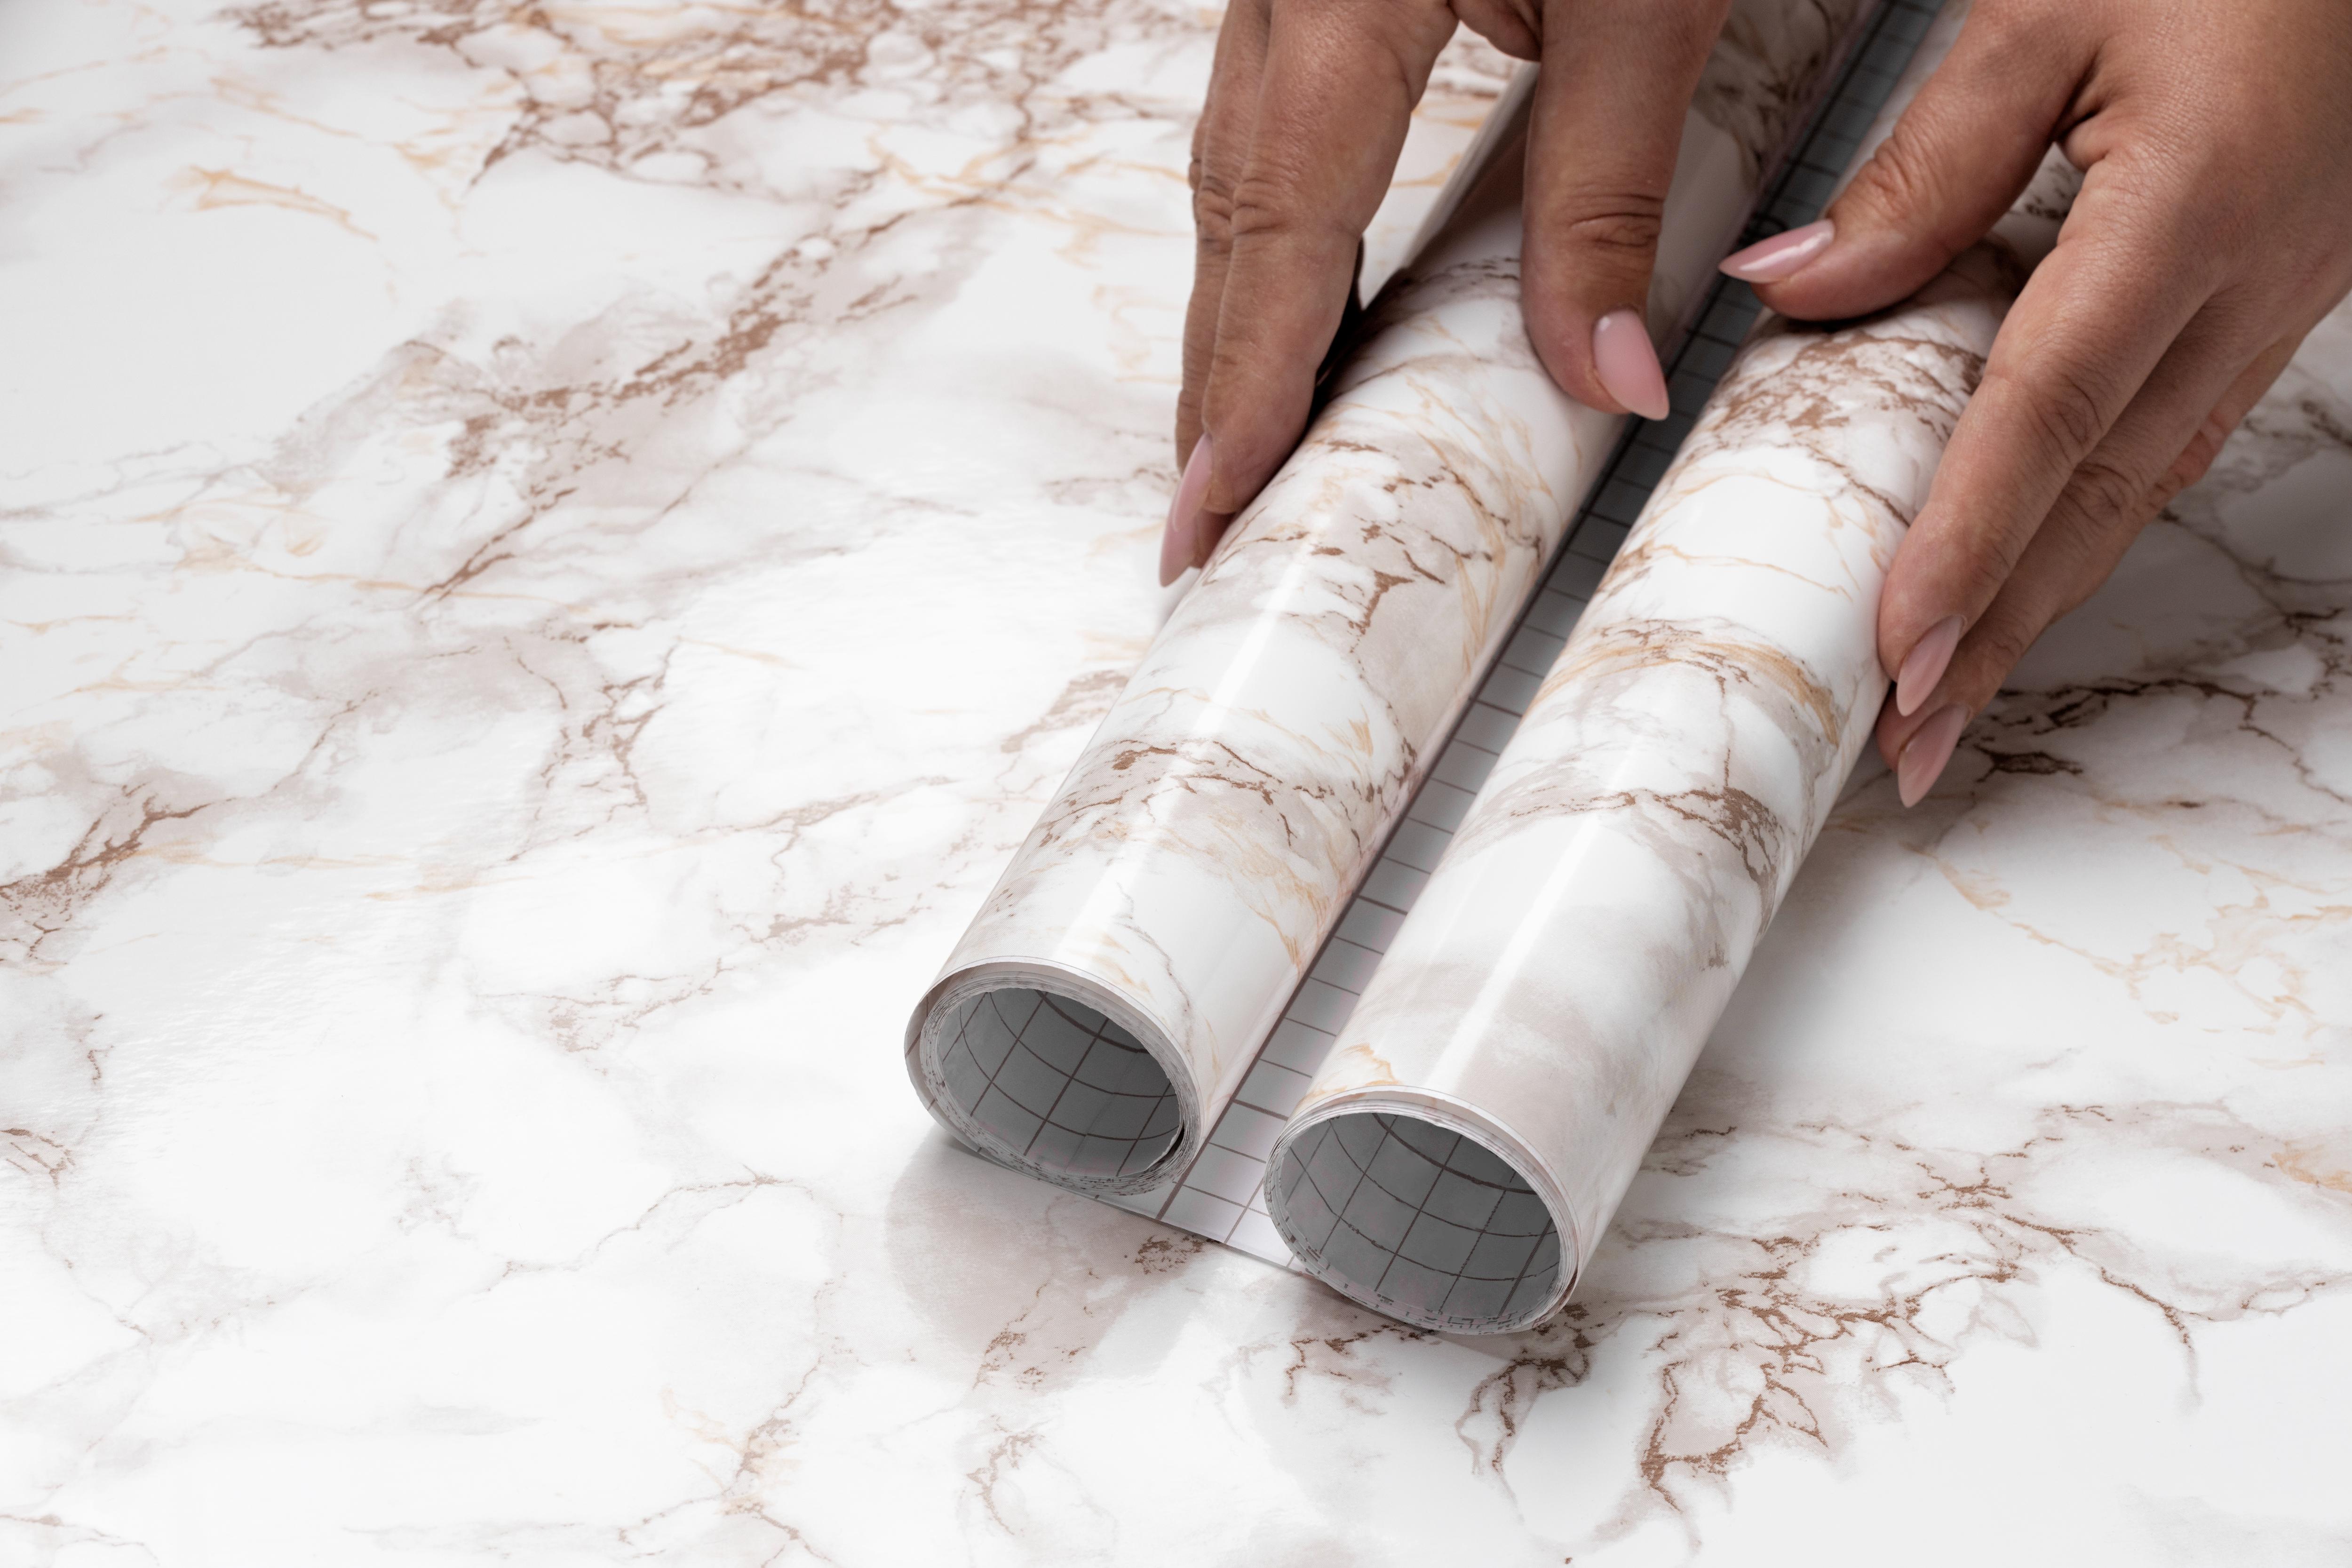
2 - Positioning
Lay the countertop film face down on your flat surface.For longer counters, if possible, overlap the edge at least ½” to account for uneven edges. You can trim it once applied.
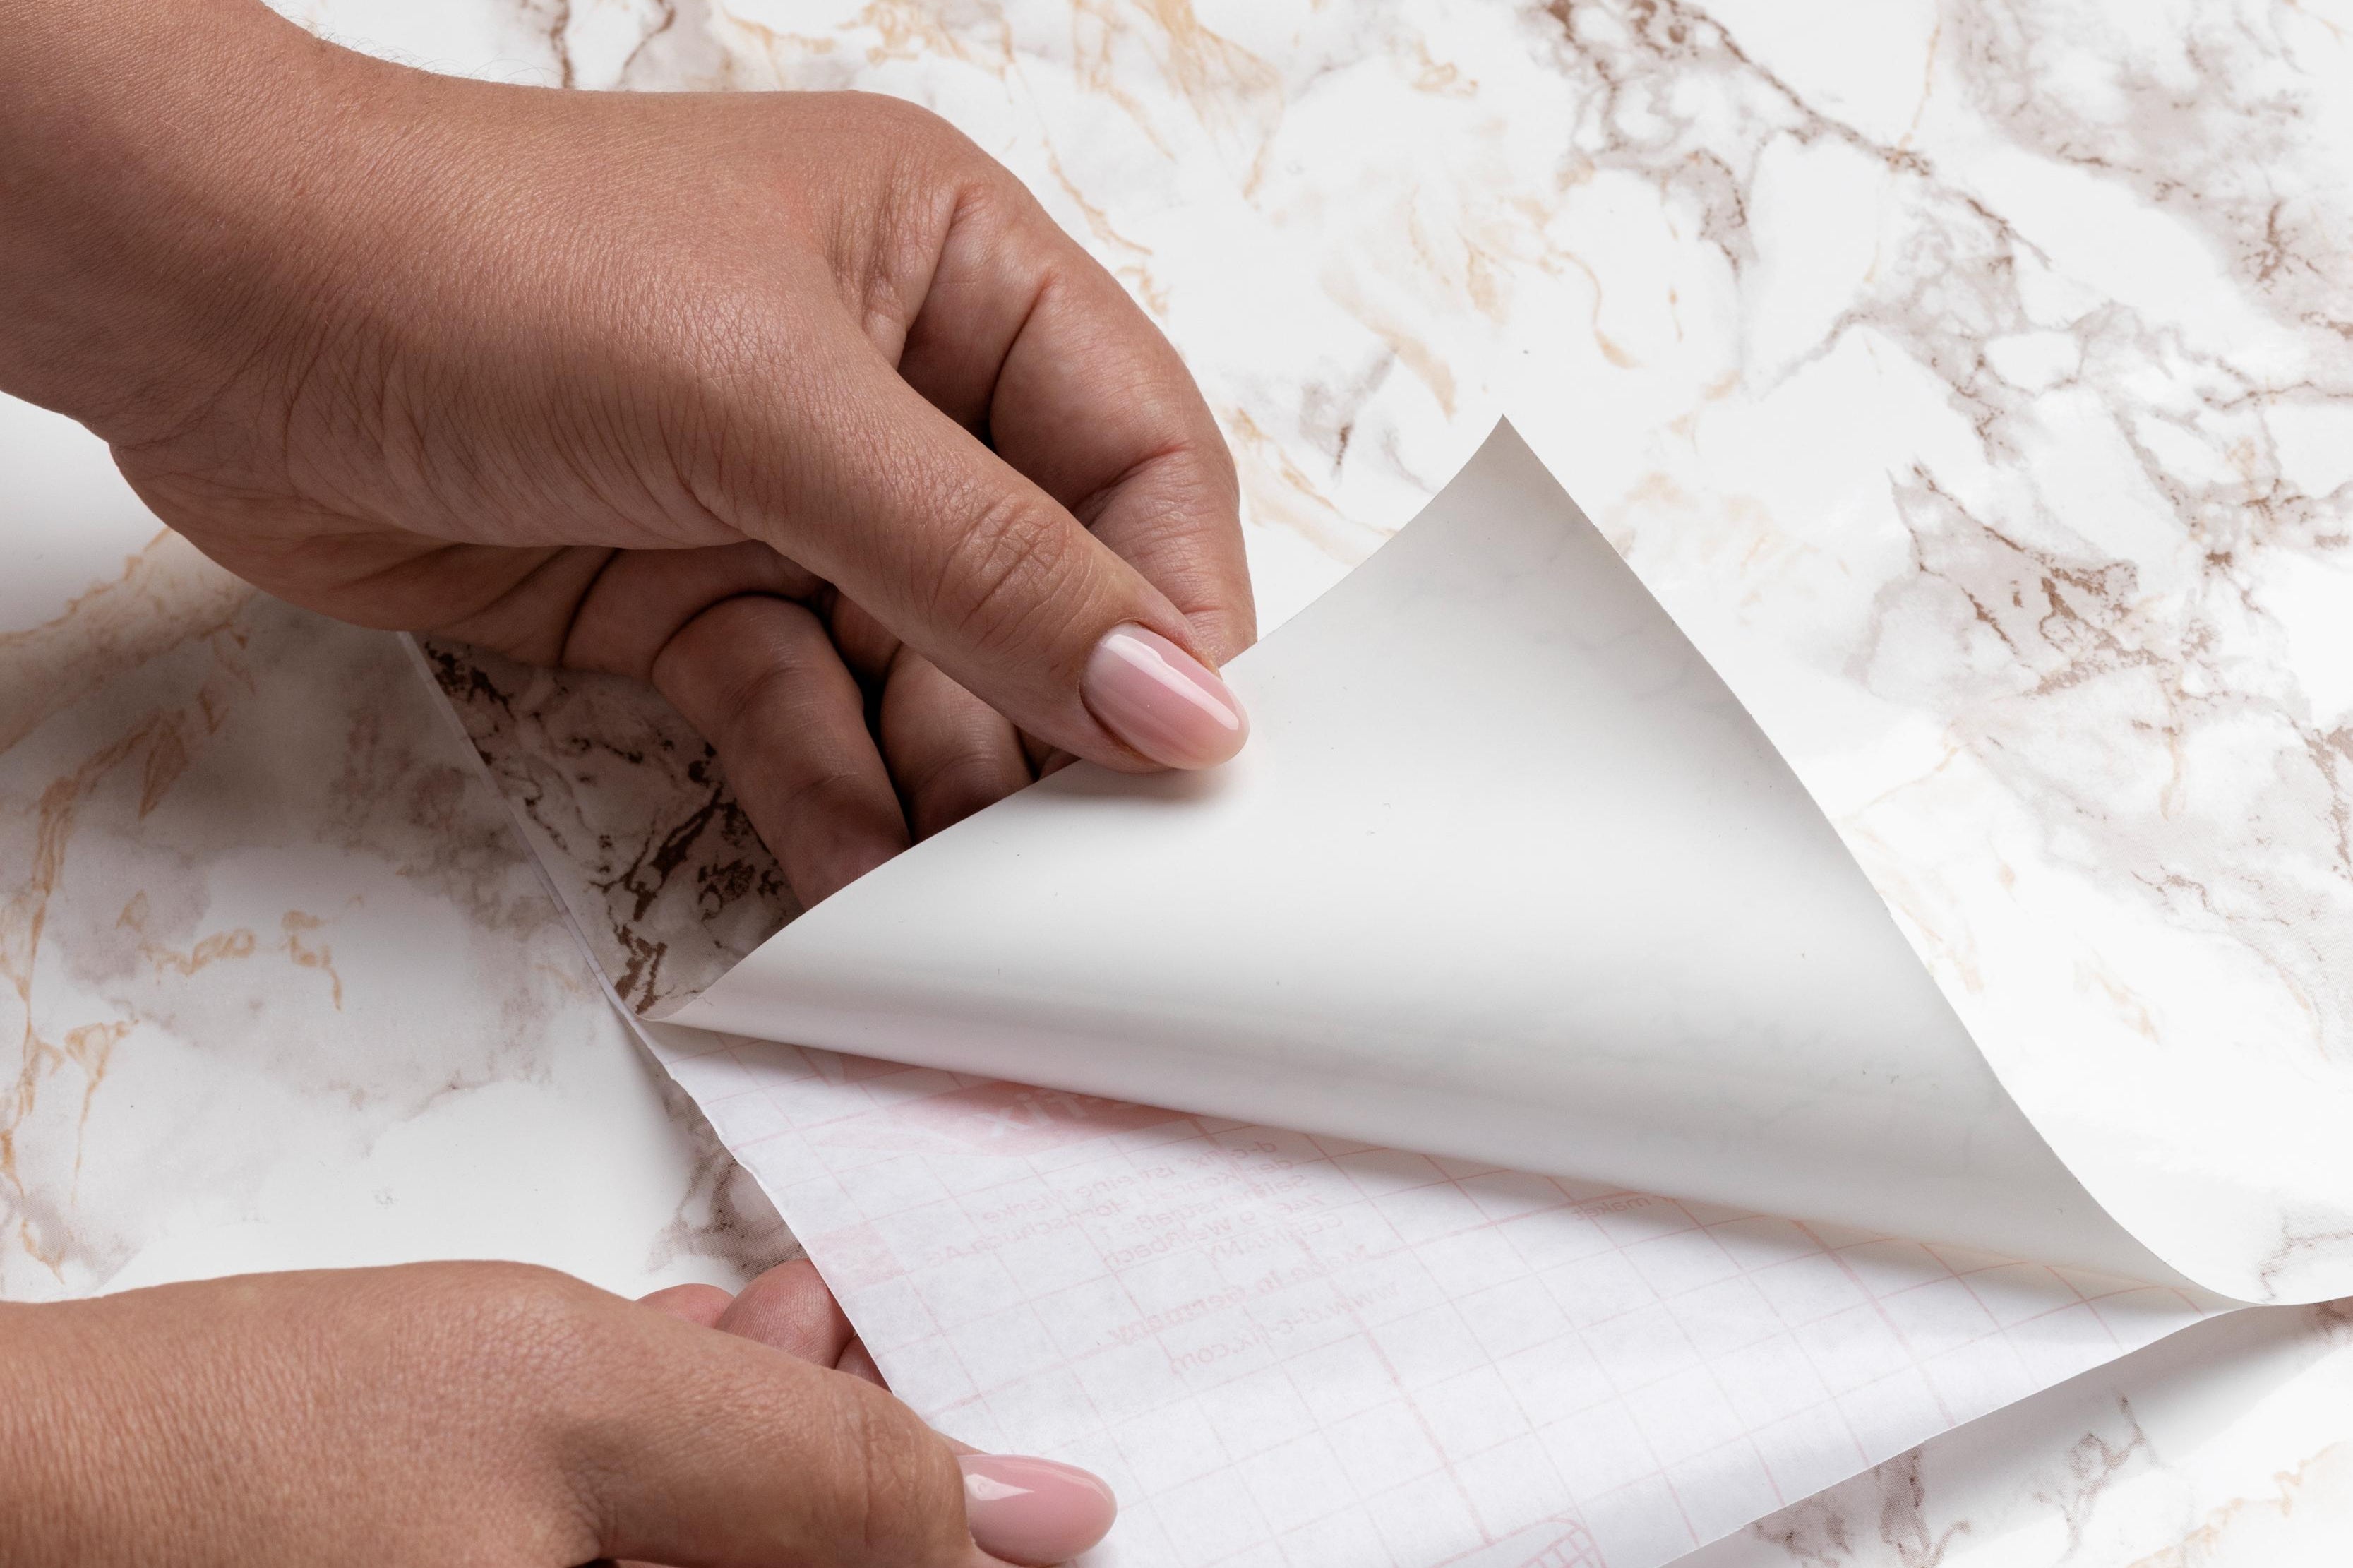
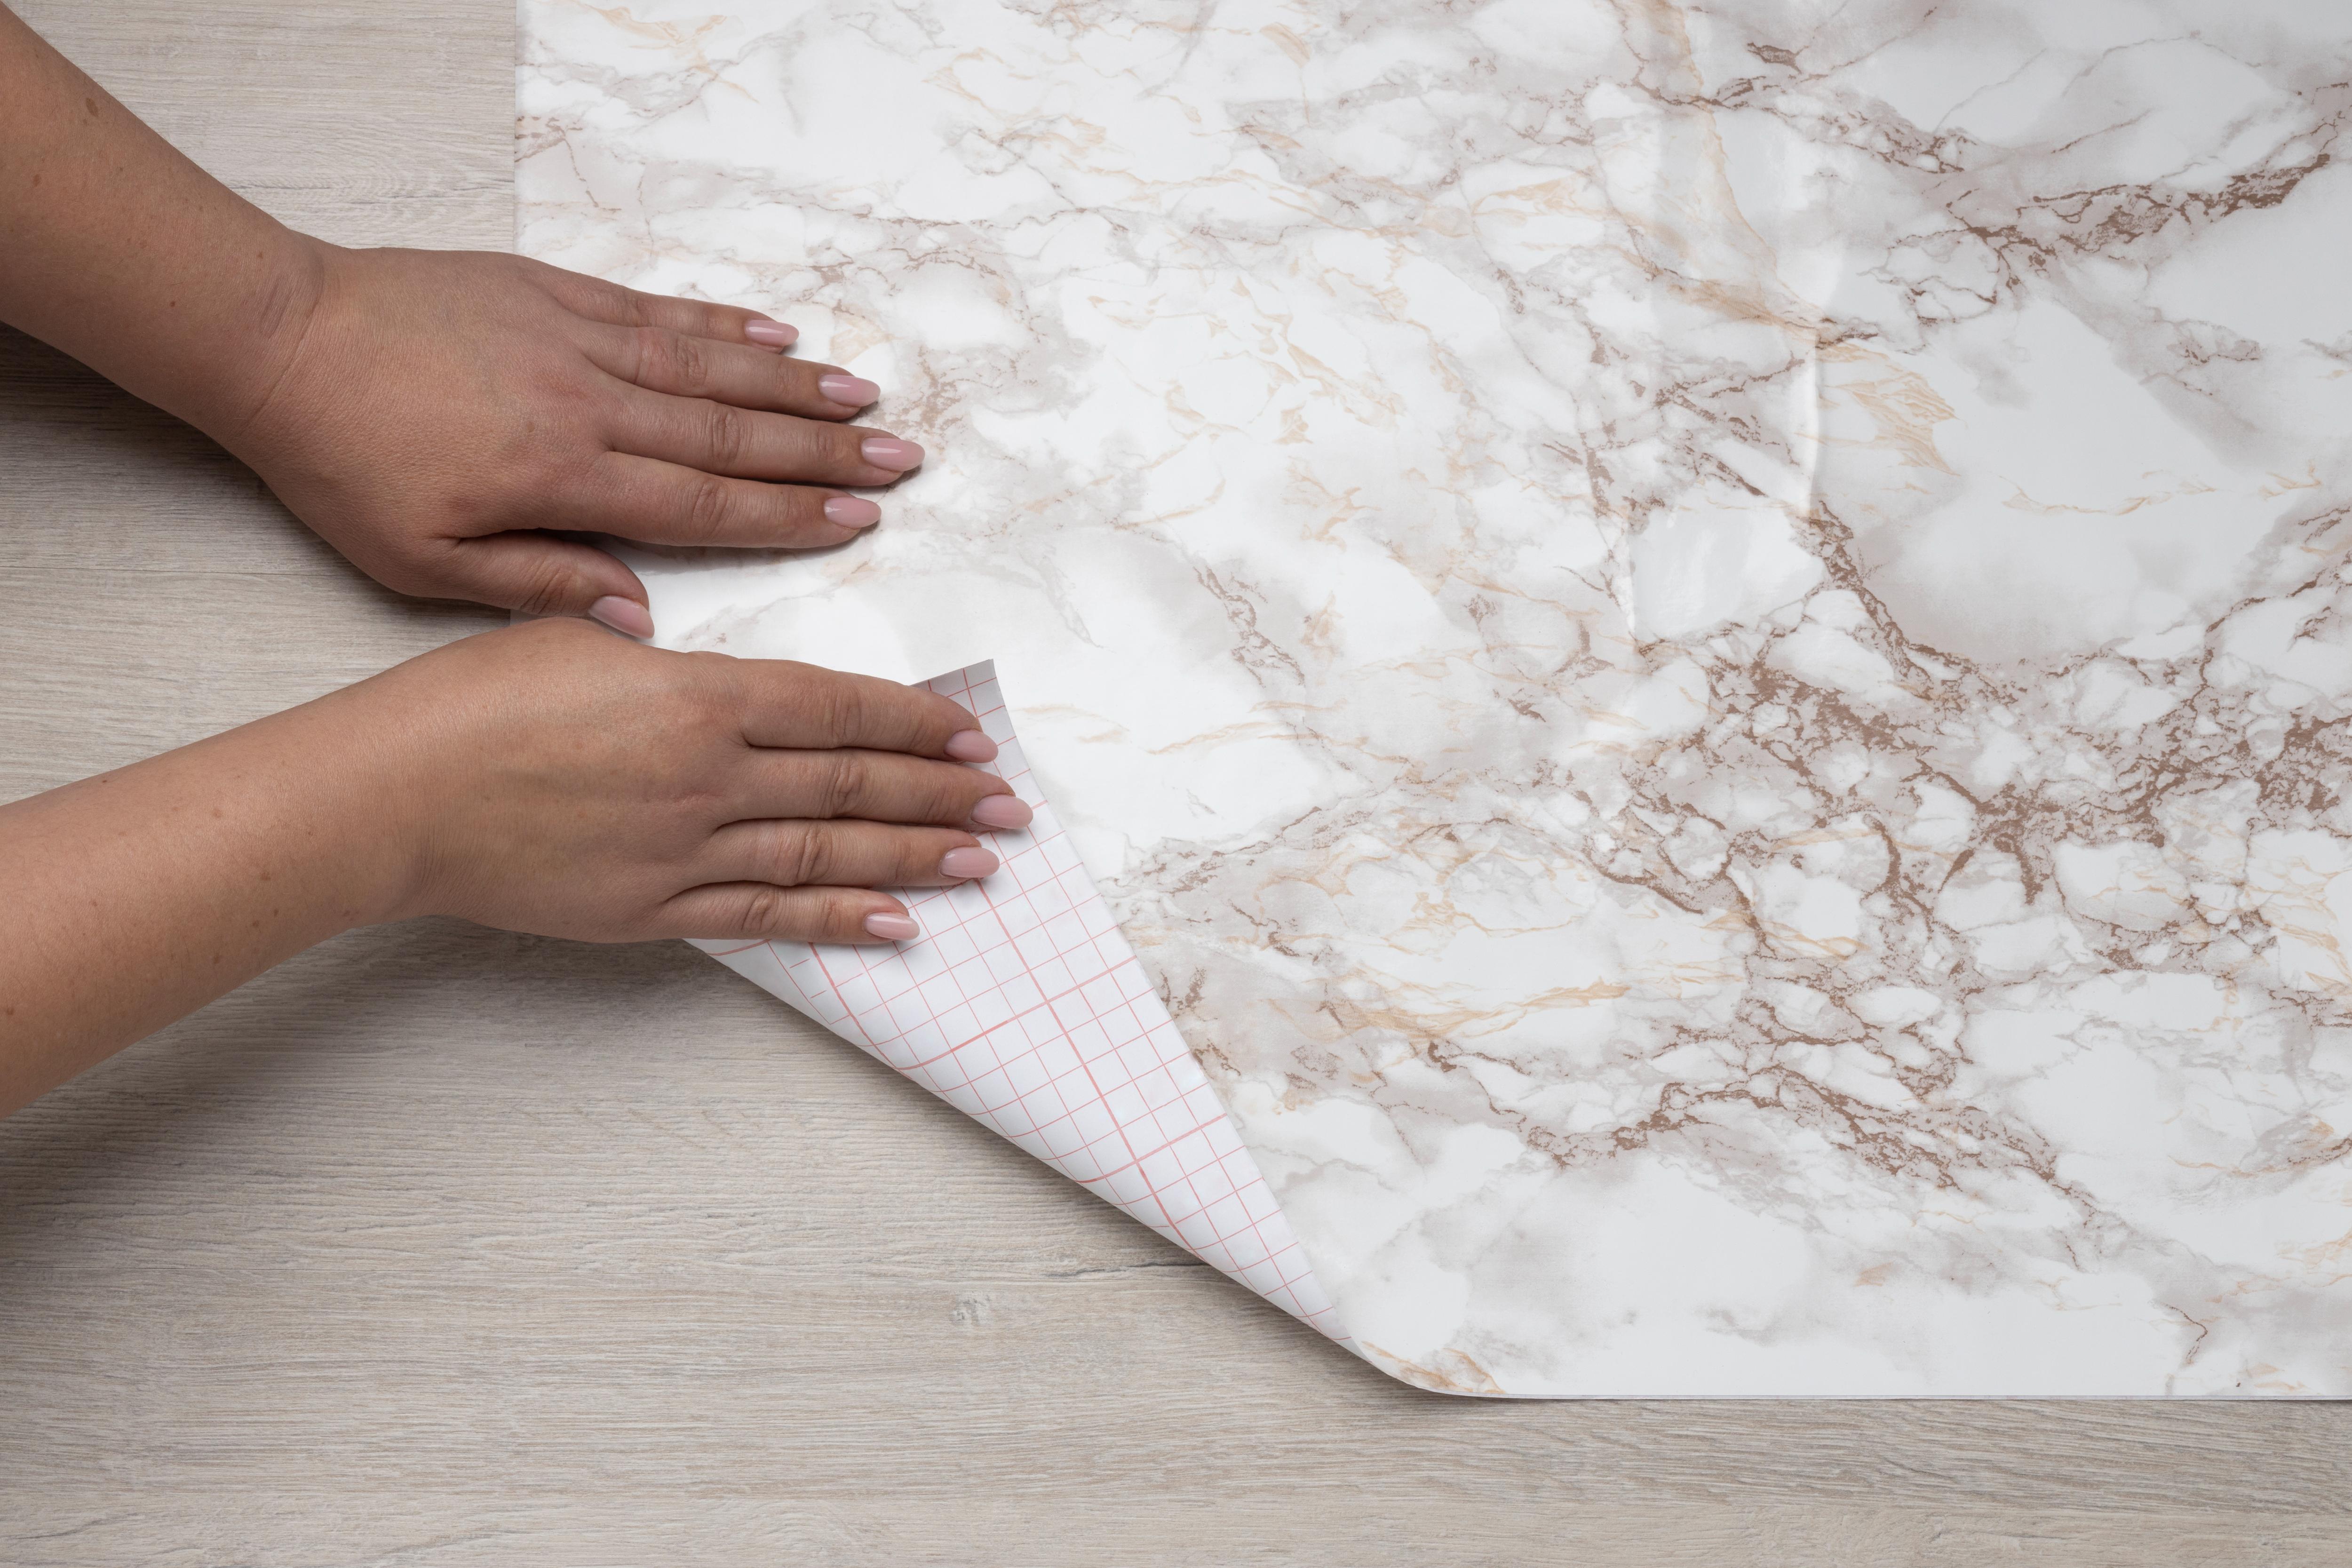
3 - Applying
Slowly peel the backing away in small increments, pulling it straight across while pressing the film down to prevent air bubbles. Using your hand, squeegee, or another smooth tool, press the exposed adhesive side onto the counter, starting from the center and working outward.

4 - Finishing
After fully applying the film, smooth out any remaining air bubbles using a squeegee or plastic card. Trim excess material along the edges using a sharp knife or precision cutter for a clean, finished look. Press down all edges and corners firmly to ensure long-lasting adhesion.
More Info
Tips
- • Work in small sections rather than removing too much backing at once.
- • Apply firm, even pressure to smooth the film, overlapping strokes slightly to ensure proper adhesion.
- • Keep the edges from touching the surface until you firmly press them down with a squeegee.
Care
- • Clean your countertop film with a soft cloth, sponge, or paper towel using water or a very mild cleaner.
- • Do not use abrasive cleaners, scouring pads, or harsh chemicals, as these may scratch or damage the film.
- • Avoid dragging heavy objects across the surface to prevent premature wear.
Removal
- • To remove the film, gently peel from one corner at a steady pace.
- • Pull at a 120° angle with smooth, even force to avoid tearing.
- • If adhesive residue remains, use a mild adhesive remover or warm, soapy water to clean the surface.
- • We hope you enjoy your new countertop film! If you have any questions, feel free to contact us.

Tag us on social media
Share Your Finished Project
@jamesandcolors